Once Again Going Green, Part 1: The Dress
Project Summary: The Ocean Saya
Materials: Linen and trim
Duration: 32 hours, 5 minutes over 25 days
First event: Pennsic LI, Known World A&S
I love that it took me almost a year and a half after completing this dress to actually post it. In that time frame, it has easily become one of my favorite dresses.
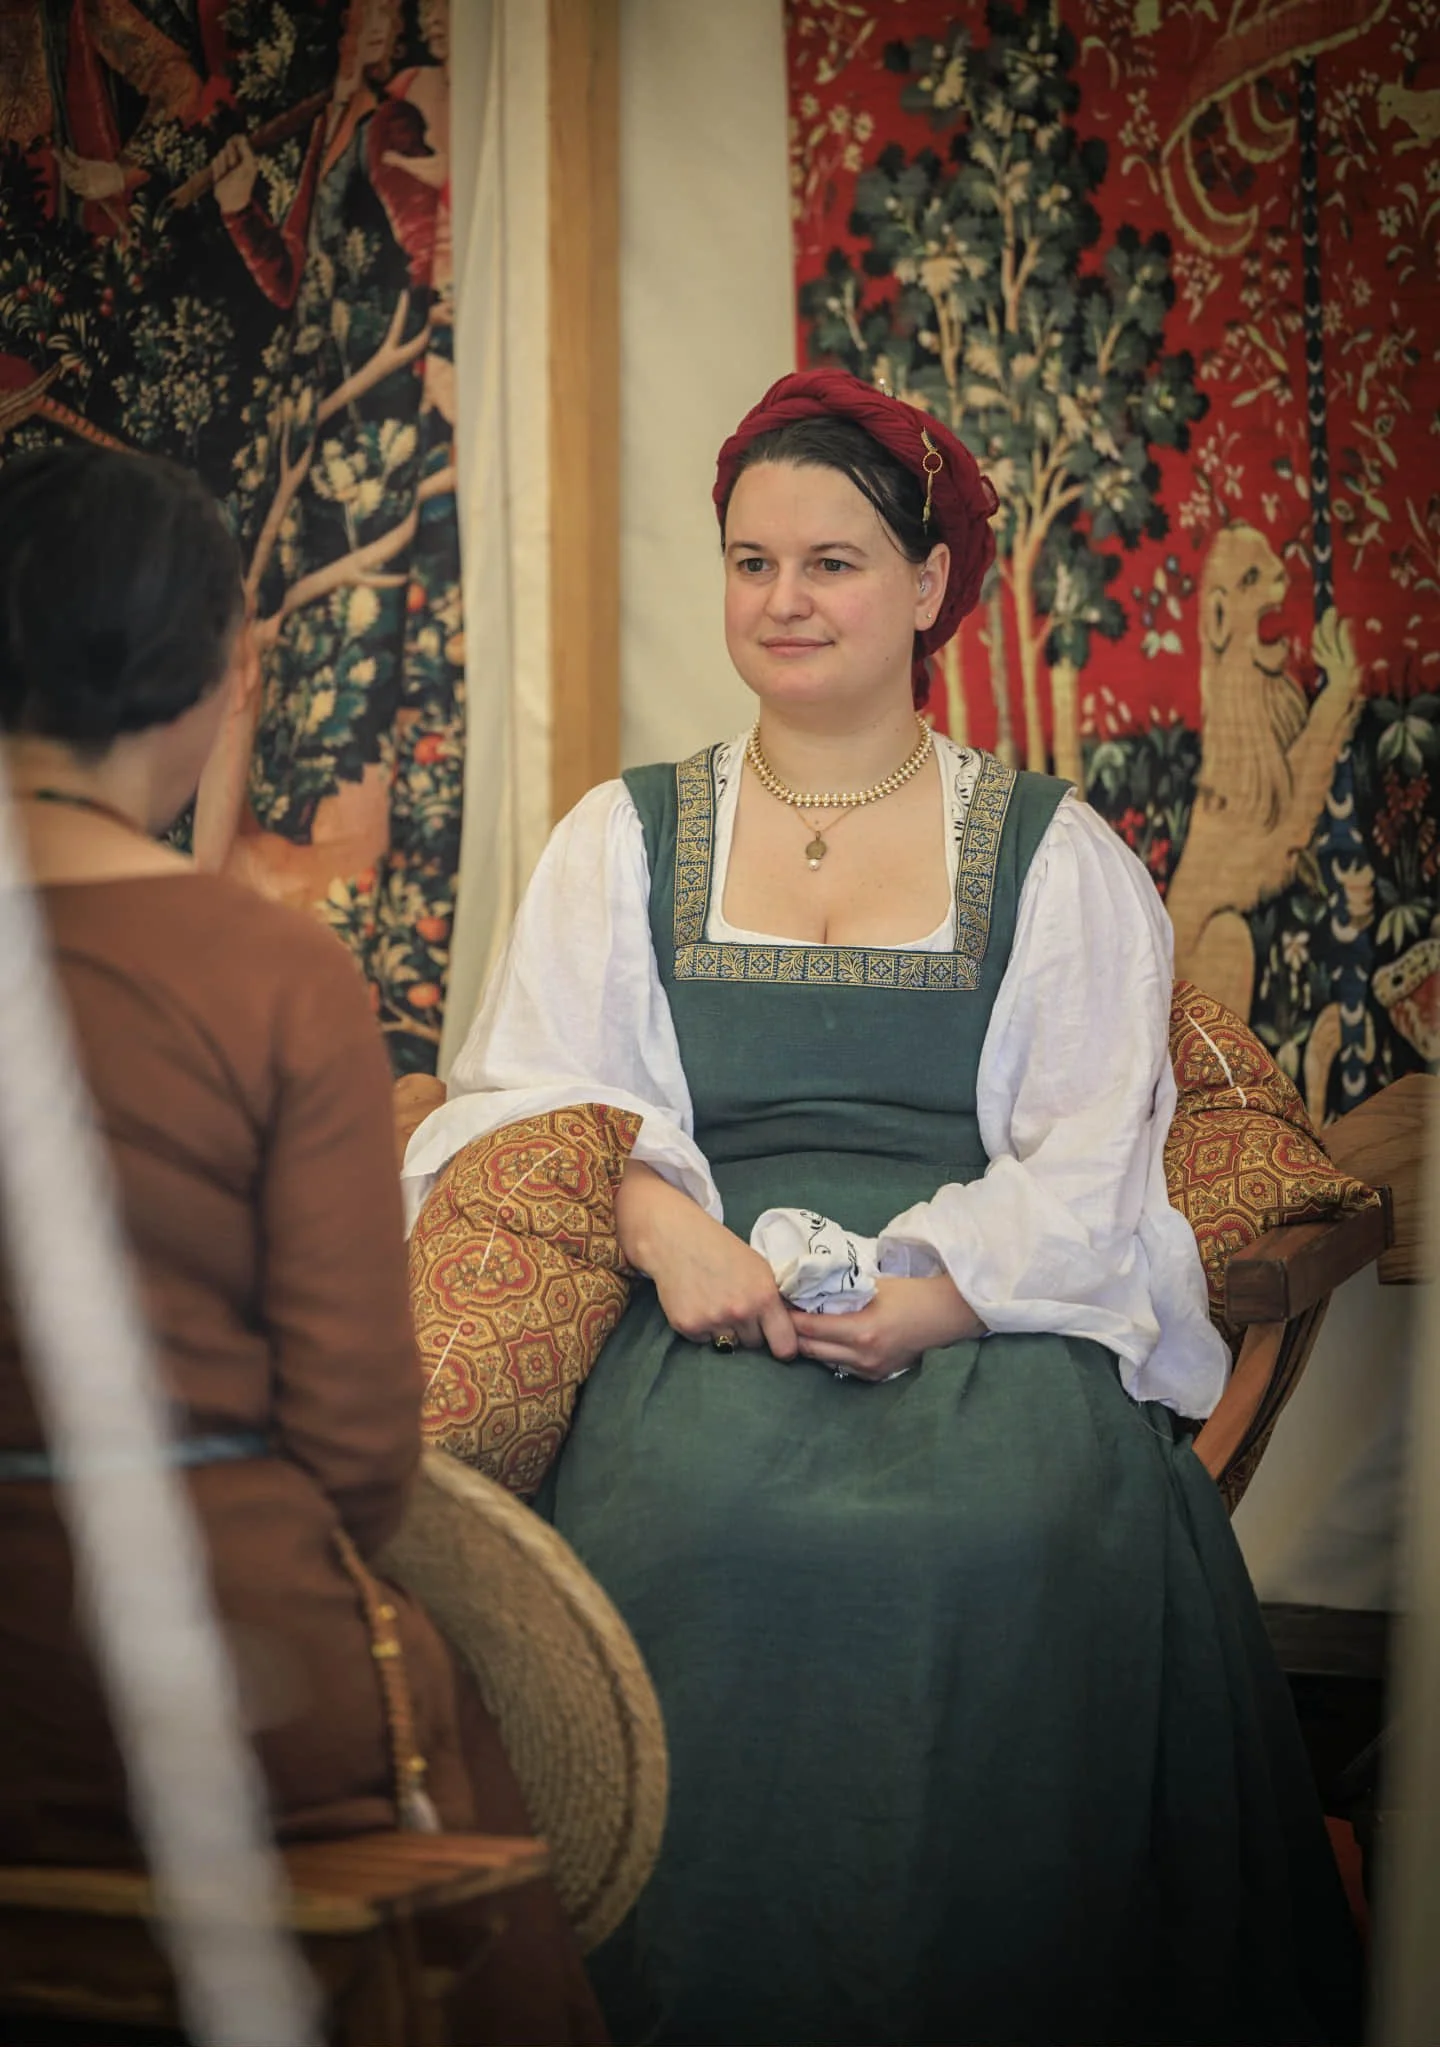
Photo credit: Thomas de Winter
Design Process
For this saya, I wanted to go back to my color roots. A rich, forest-y green is my favorite color and this linen hits that nail on the head. I still had a substantial amount of the Moroccan blue line that I used on the Vermeer Saya left over and Bea agreed that the color combo went nicely together and reminded her of the ocean a little bit so that’s where this saya got its name.
The inspiration image for this dress (below) has a lot to like about it. It has trim at the neckline and hem, a nice wide and square neckline and an interesting rounded neckline, a phenomenal set of accessories. The red and green behind the lady of the house (presumably San Julián’s mother, who he is about to kill) is also really drawing me, specifically for its use of black trim on the sleeves, and the rounded corner neckline. As a whole, I’m combining the elements from these two women into one dress.
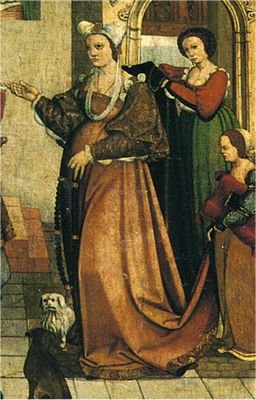
Inspired by Retablo mayor de San Julián de Ororbia (1539, Navarra).
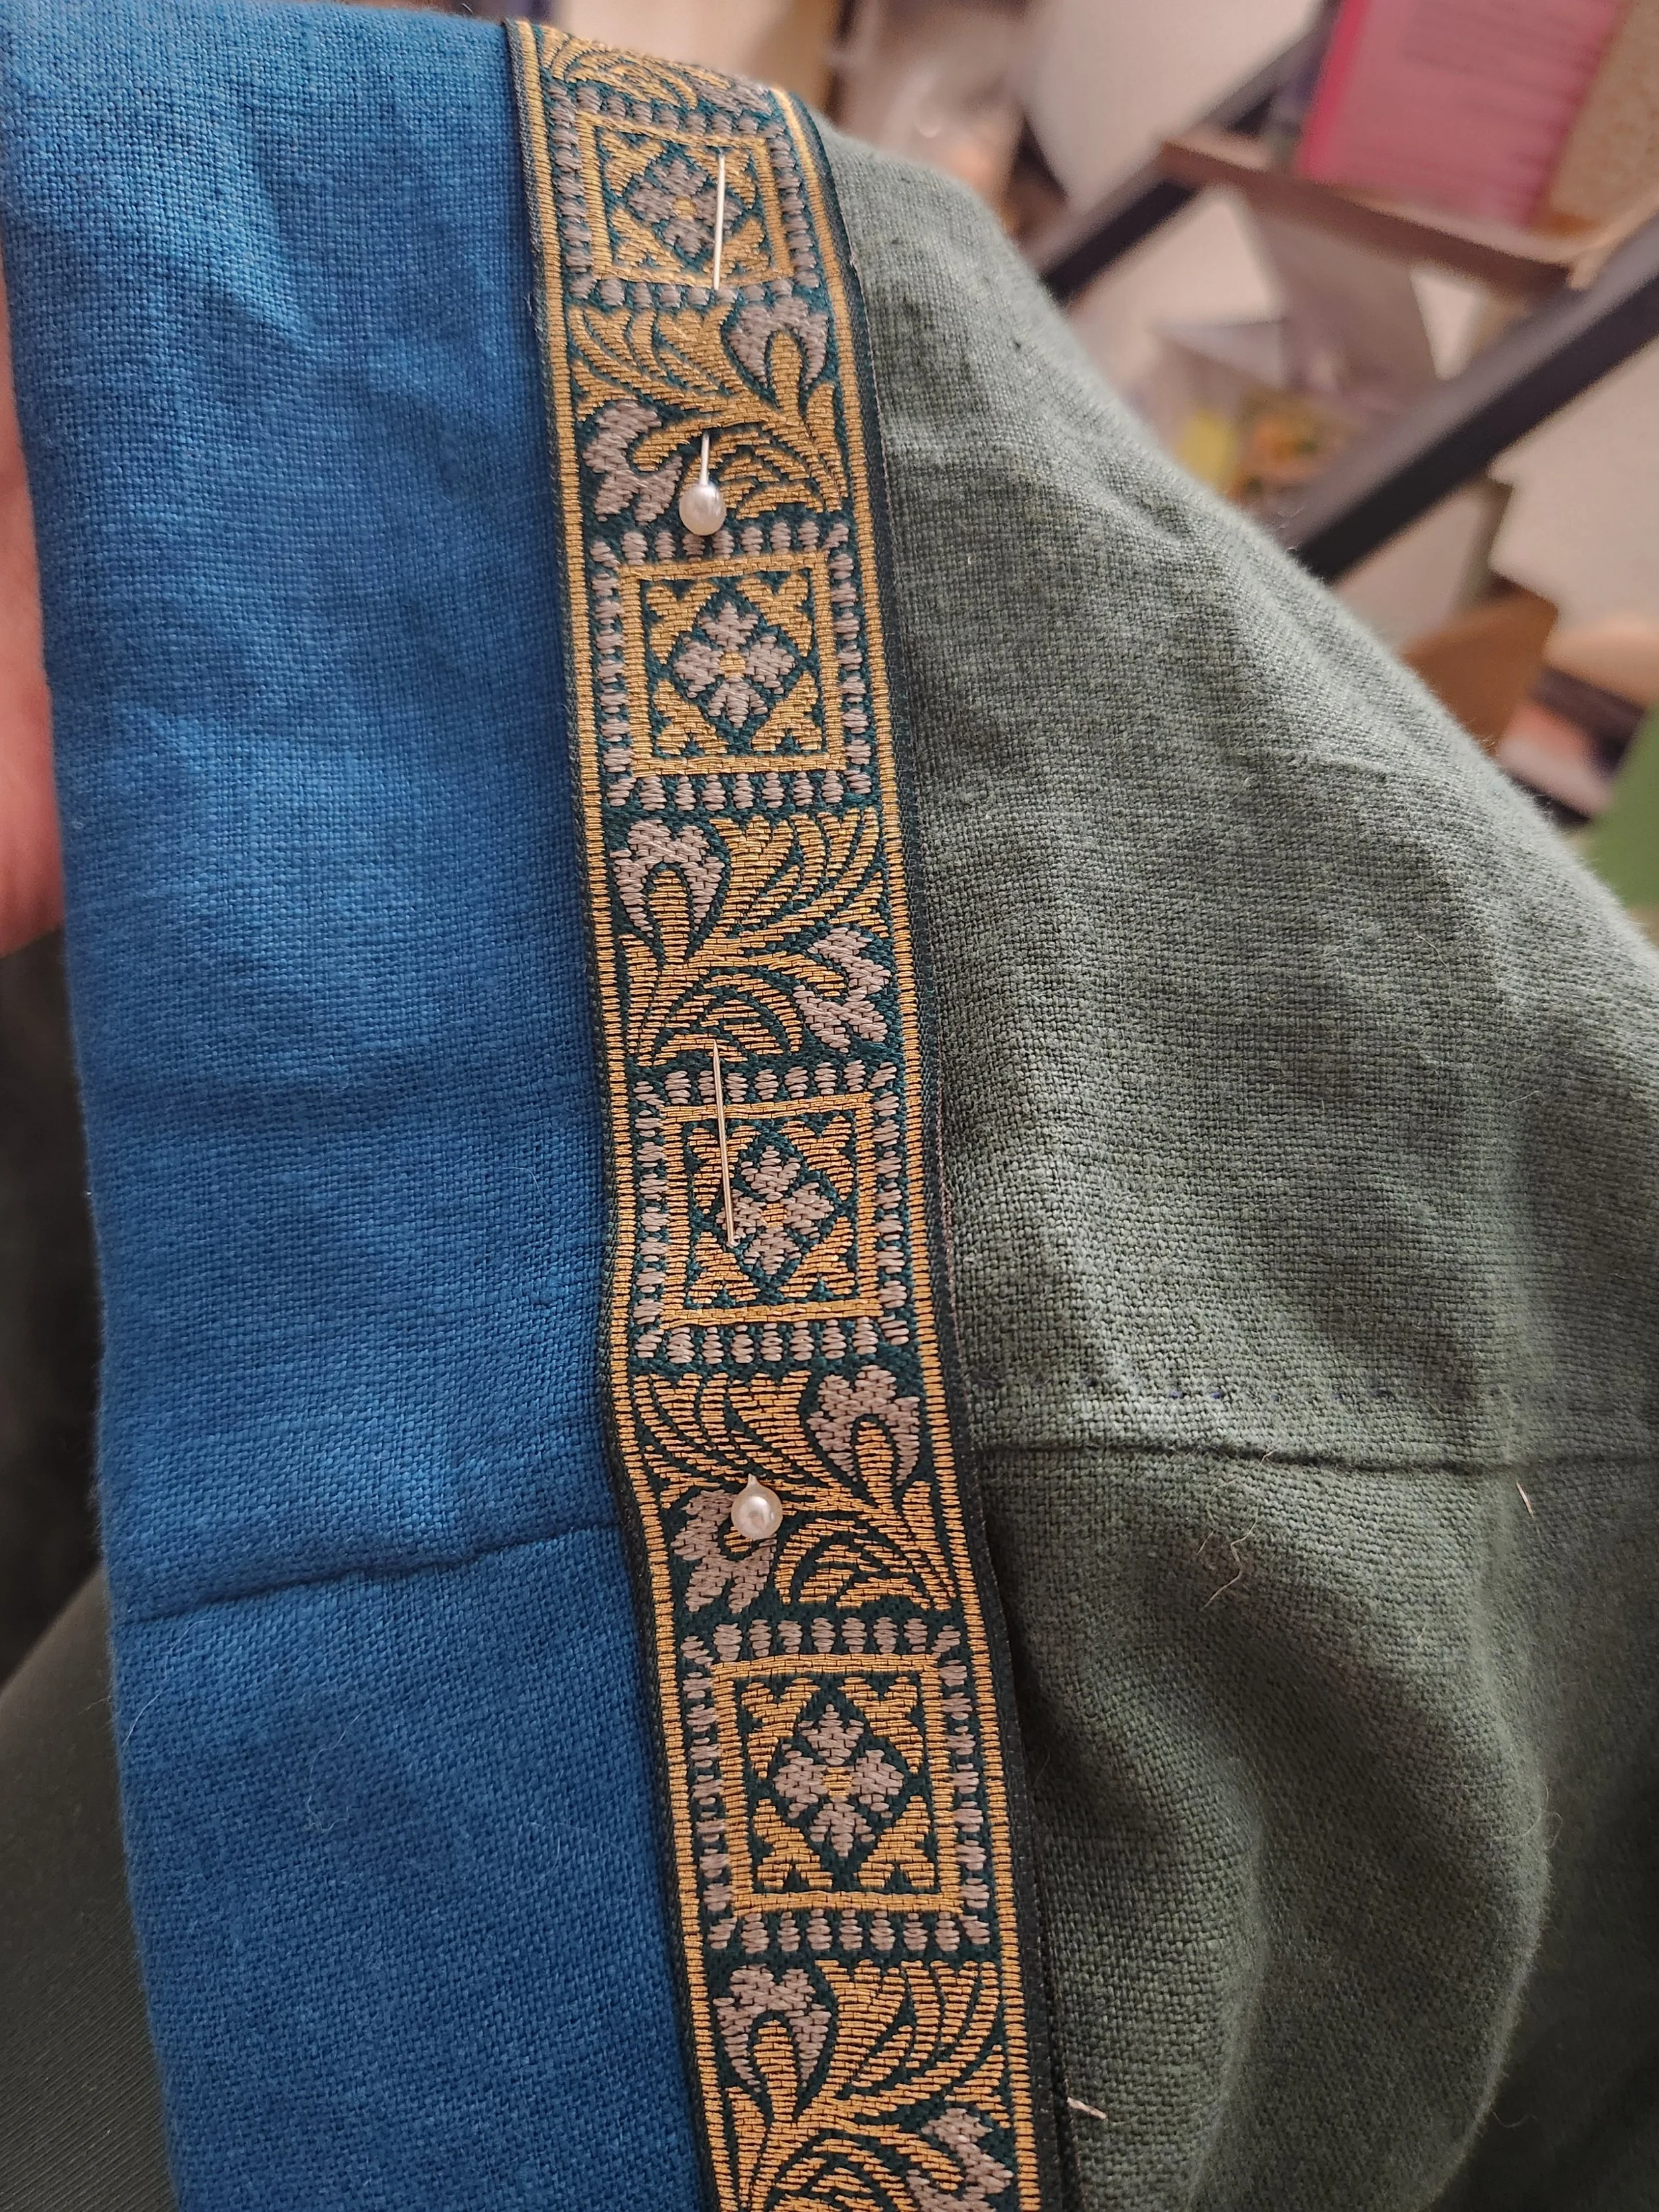
On a little bit of an impulse, we went into a fabric store on my honeymoon. While I couldn’t justify the suitcase space of bringing home fabric, I could justify trim. I found this beautiful gold, green, and blue trim that matches the Emerald and Moroccan Blue linens fabulously. I decided to add that as my neckline trim and to add it above the seamline of where the Moroccan Blue will be covering the hem, like the Vermeer Saya. This is a little unconventional, but my concern with this dress is longevity. I don’t want to risk damage to an irreplaceable feature by placing it somewhere which, while accurate to the source, would have it dragging constantly on the ground. Ultimately, the trim as I’ve set it up is a bit more reminiscent of the young girl to the far right in my inspiration image than it is the main figure but I really like how it looks.
Construction Process
This was a fun garment to construct. I started off by adjusting my base saya pattern to account for the waistline and neckline changes. This did end up causing a bit of an issue on the angle of the closure, but it still works so I’m still happy with it. I was able to overcome this by using lacing rings instead of eyelets, and if you didn’t know it was an issue, I don’t think this would be noticeable. The dress fits well within the parameters I wanted it to.
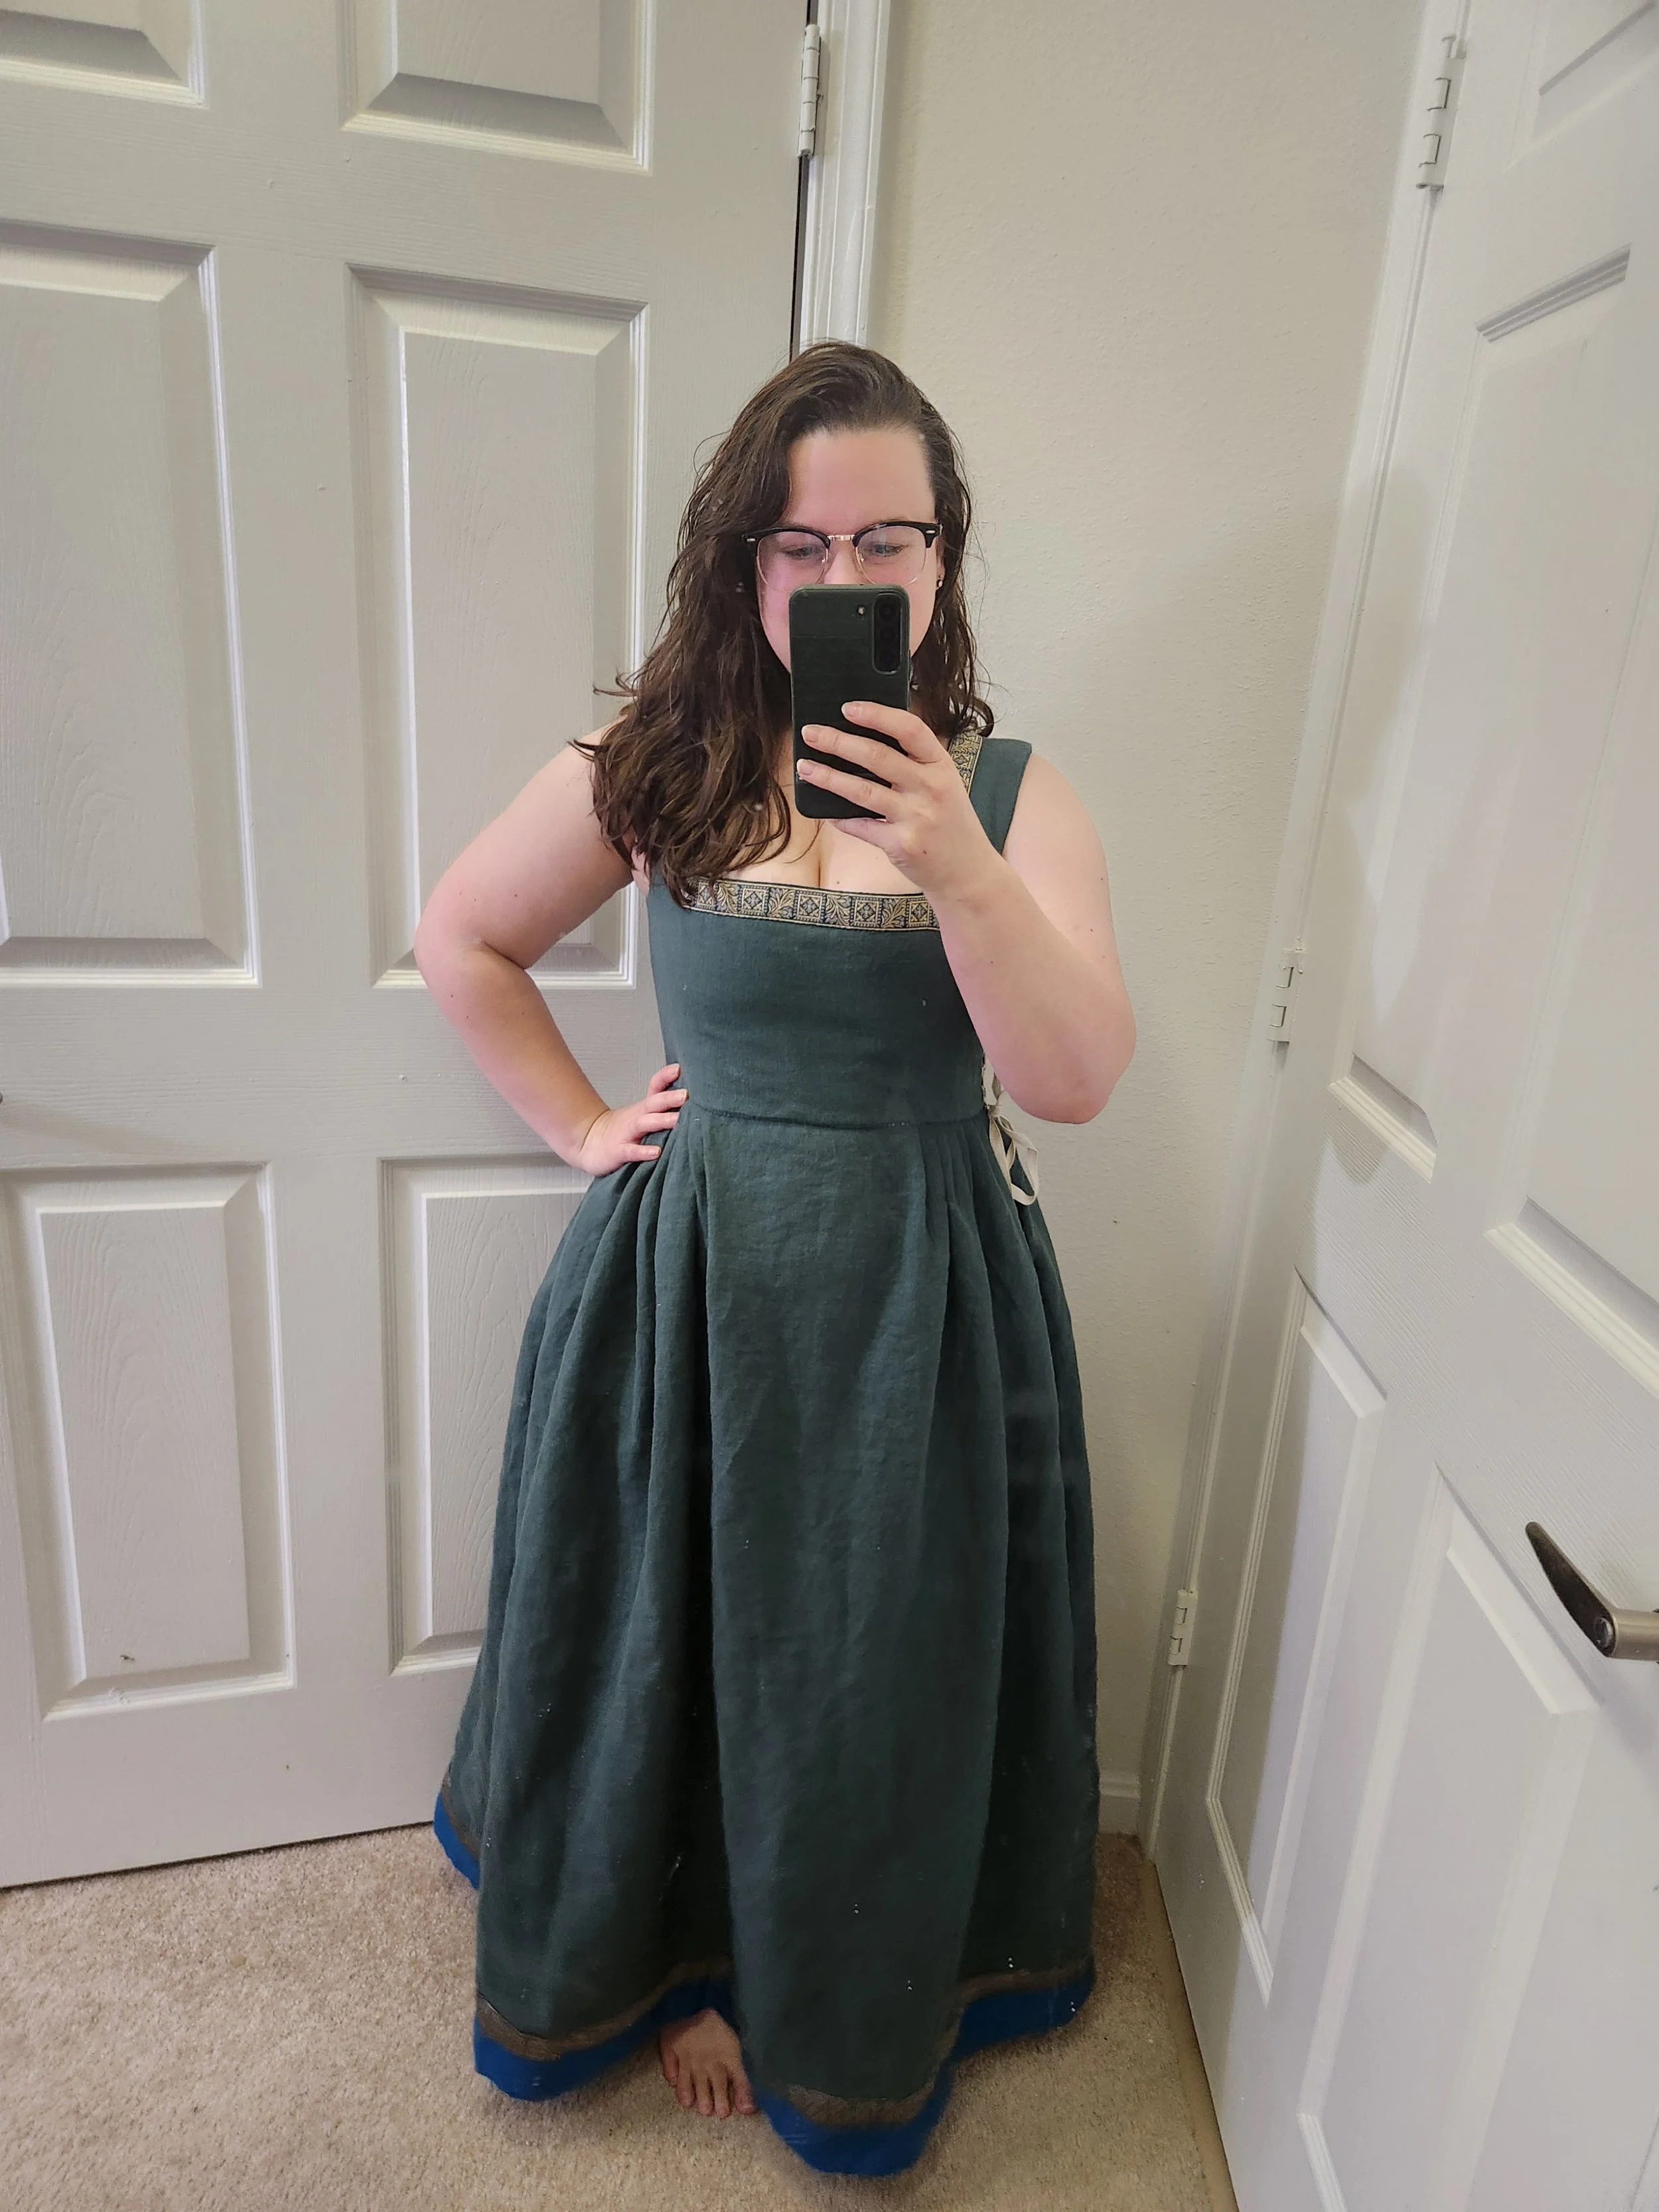
As usual, I made each component as a “finished” component and then assembled them. I have found that overtime this saves time with seam finishing a lot. The skirt was constructed with the top edge on the selvedge and then the hem was encased in the Moroccan blue linen trim, which was folded over on the inside and has the metallic trim protecting that raw edge.
Gathering this skirt into the waist was an interesting process. Normally, I would pin it so that half of the skirt is in front and half is in back. For this one, I knew I wanted most of the skirt canted backwards like in the inspiration image. To achieve that, I did small sets of pleats on either side of the front but left most of the front flat. That allowed me to shift most of the volume of the skirt toward the back.
I will admit that I did not do a great job of taking pictures this time around so my gallery below is pretty limited.


Project Takeaways
I enjoyed trying some new fit features a lot on this project. It challenged me to learn more about how to grow beyond just “standard” patterns. I learned there are some pitfalls I need to remember to account for in other settings, I learned there’s some tips/tricks for incorporating stylistic elements from different fashion influences into my general framework, and at the end of the day, I think I also got better at noticing the things in art that are uniquely Spanish vs. what is Spanish with an Italian hat on.
I love the dress itself. It’s so comfortable and honestly, it’s easily going to be one of my new favorite dresses, even without its sleeves. It’s comfy, it’s got enough support while not being restrictive, and it’s not overly heavy.
Next Opportunities
This dress needs sleeves. I did not include them for the sake of heat control at Pennsic, but these will be a future project for this dress.
One of the things I want to try is a new style of longer sleeve for the 15th century. The image above, the Retablo mayor de San Julián de Ororbia (1539, Navarra), shows both women wearing a pair of sleeves with a large upper sleeve tied on at the shoulders, a very fitted lower sleeve, and the camisa sticking out of the lower sleeve.
I plan to secure the sleeves in place with a bead as a button. I did consider doing false linen puffs, but since the sleeves are not integral, I’m not too worried about it.
Adding trim on the openings of the lower sleeves. Generally, I’m patterning this dress off of the front most example in the painting. However, I really like the trim shown on the rear woman. Both sets of lower sleeves show a closure at the wrist, one or two on the forearm, and then again at the elbow where the two parts of the sleeve meet. I chose to use some of my Moroccan blue trim on the bottom of the dress for some excitement in color, and I think the sleeves could also benefit from it, more like the woman behind the primary figure in this image. Most of my camisas should allow for fullness in the openings on the sleeves but I generally make the sleeves a little too short for it to go really well. While this works just fine when they’re loose or fully contained, the consequence when they’re made to fluff up is that the hem of the wrist pops out a lot and it drives me absolutely bonkers. I spend most of the day fiddling with it when that happens. To address this, I plan to keep the wrist closure a little higher than the picture indicates.